
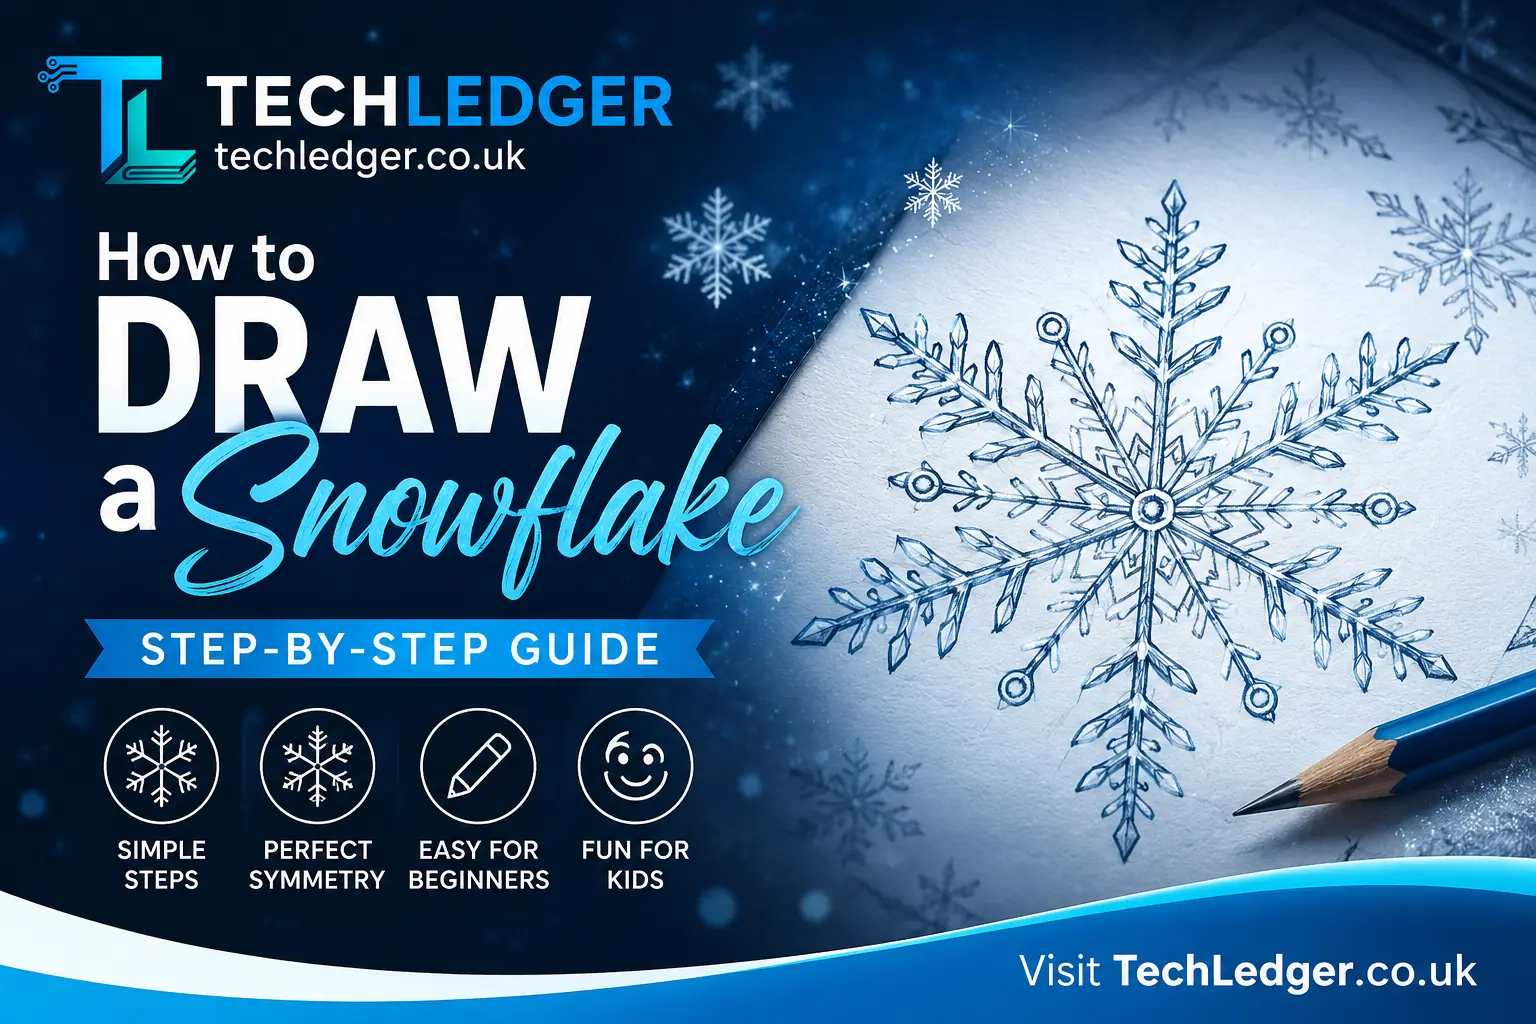
A hand-drawn snowflake illustrating six-fold symmetry, ideal for beginners learning snowflake drawing techniques
There’s something quietly magical about a snowflake. Each one is different, yet they all follow the same beautiful rule: six-fold symmetry. It’s as if nature herself is an artist, delicately crafting each flake with a unique pattern that cannot be replicated. When they fall from the sky, they dance through the air, a fleeting reminder of the intricate beauty that often goes unnoticed in our hurried lives.
Each one, a testament to the complexity of the natural world, bears stories of its journey through the atmosphere, collecting tiny particles and experiences before landing softly on the ground. In their transient existence, snowflakes invite us to pause and appreciate the wonder of individuality, urging us to embrace the uniqueness within ourselves and the world around us.
That contradiction infinite variety built from one simple pattern is exactly what makes snowflake drawing such a satisfying art project. Whether you’re a parent looking for a rainy-day activity, a student working on a winter-themed assignment, or an illustrator wanting to add festive charm to a greeting card, learning to draw a snowflake is easier than most people assume.
In this guide, I’ll walk you through everything from the basic geometry behind snowflakes to step-by-step drawing methods, common mistakes to avoid, and creative variations you can try once you’ve got the basics down. We’ll start with an exploration of the fascinating science that underpins these intricate structures, delving into how temperature and humidity influence their formation. From there, we’ll transition into practical drawing techniques, breaking down the process into manageable sections so that even beginners can feel confident in their artistic abilities.
As you progress, I’ll highlight some common pitfalls, such as failing to capture the unique symmetry of each flake or overcomplicating your designs. Finally, I’ll encourage you to unleash your creativity with variations that can transform a simple snowflake into a stunning piece of art, whether through color, pattern, or mixed media. So grab your pencils and paper, and let’s embark on this snowy adventure together!
I’ve kept the instructions practical rather than overly technical, because the goal here isn’t to turn you into a crystallographer it’s to help you draw something beautiful in the next ten minutes.
Why Snowflakes Are Naturally Six-Sided
Before picking up a pencil, it helps to understand why snowflakes look the way they do. Real snowflakes form when water vapor freezes around a tiny dust particle high in the atmosphere. These ice crystals grow and develop as they descend through different layers of the atmosphere, each with varying temperatures and humidity levels.
This journey influences their shape and structure, leading to the intricate and unique patterns we often associate with snowflakes. Factors such as temperature, moisture, and even wind can cause the crystals to branch out in delicate formations, resulting in the stunning diversity that can be observed under a microscope. Understanding this process not only enhances our appreciation for these natural wonders but also provides a fascinating glimpse into the complexities of weather phenomena.
Because water molecules bond in a hexagonal lattice, ice crystals almost always grow outward in six directions. As the crystal falls through the atmosphere, it experiences slightly different humidity and temperature on each arm, but since all six arms travel through the same environment at the same time, they tend to grow in a roughly symmetrical way.
This is genuinely useful information for an artist, not just trivia. Once you understand that a snowflake is really just one design element repeated six times around a center point, drawing one stops feeling intimidating. You only ever need to design one-sixth of the flake the rest is repetition.
What You’ll Need
You don’t need fancy supplies for snowflake drawing. Here’s a simple materials list depending on your preferred method:
| Method | Best For | Tools Needed |
|---|---|---|
| Pencil and paper | Beginners, sketching practice | Pencil, eraser, ruler, protractor (optional) |
| Pen and ink | Clean, permanent line art | Fine-liner pens, compass, ruler |
| Digital drawing | Editable, scalable designs | Tablet, stylus, software like Procreate or Illustrator |
| Paper cutting | 3D-style paper snowflakes | Paper, scissors, pencil |
| Watercolor | Decorative, painterly snowflakes | Watercolor paper, paints, fine brush |
Whichever method you choose, the underlying steps are almost identical.
Step-by-Step: How to Draw a Basic Snowflake
Step 1: Draw a Center Point and a Guide Circle
Start by lightly sketching a small dot in the center of your page this is the heart of your snowflake. Around it, draw a faint circle using a compass or a round object as a guide. This circle will help you keep your six arms evenly spaced and equal in length. Don’t worry about making this circle perfect; it’s just scaffolding you’ll erase later.
Step 2: Divide the Circle Into Six Equal Sections
This is the step people often overcomplicate. You don’t need exact geometry a protractor helps if you want precision, but eyeballing it works fine for casual drawing. Draw six lines radiating out from the center point, spaced roughly 60 degrees apart, like spokes on a wheel. These lines are the “arms” of your snowflake.
Step 3: Design One Arm
Here’s the fun part. Pick just one of the six lines and decorate it however you like. You might add:
- Small triangular branches pointing outward, like tiny pine trees
- Diamond or teardrop shapes along the length
- Curved, feather-like branches for a softer look
- Simple straight cross-lines for a minimalist, geometric feel
Keep your design roughly symmetrical along that one arm imagine folding it in half lengthwise and having both sides match.
Step 4: Repeat the Design on the Other Five Arms
Once you’re happy with one arm, copy the exact same pattern onto the remaining five lines. This is where the guide circle from Step 1 comes in handy, since it helps you keep each arm’s decorations at a consistent distance from the center.
If you’re working digitally, this step is effortless draw one arm, then duplicate and rotate it five times at 60-degree intervals. If you’re working by hand, take your time here; this is the step that most affects how “real” the final snowflake looks.
Step 5: Add Fine Details
Real snowflakes rarely have plain, empty arms. Add small secondary branches, dots, or crosshatching to bring texture and realism. A helpful trick is to make the details near the center slightly larger and the details near the tips smaller this mimics how actual ice crystals grow and gives your drawing a natural sense of proportion.
Step 6: Erase Guidelines and Finalize
Once all six arms are decorated and you’re happy with the balance, gently erase your original guide circle and center dot. Go over your final lines with a slightly darker pencil or a fine-liner pen to make the design pop.
A Simpler Method: The Paper-Folding Technique
If freehand drawing feels intimidating, there’s a classic shortcut that guarantees perfect symmetry every time the same principle used for paper snowflake cutting, but adapted for drawing.
- Fold a square piece of paper in half diagonally to form a triangle.
- Fold it in half again to form a smaller triangle.
- Fold it one more time into a narrow wedge (this creates the six-fold segments).
- Draw your design directly onto this folded wedge, sketching along the folded edge.
- Unfold carefully, and you’ll see the outline of a symmetrical six-armed shape you can trace and refine on a clean sheet.
This method is especially good for kids or anyone who struggles with freehand symmetry, since the paper itself does the geometric work for you.
Common Mistakes to Avoid
Even simple drawings can go wrong in predictable ways. Here are the most common issues I see, and how to fix them:
Uneven arm lengths. If your six arms aren’t the same length, the whole snowflake looks lopsided. Always sketch a light guide circle first so every arm stops at the same boundary.
Overcrowded details. It’s tempting to add branch after branch, but too much detail makes the design look cluttered rather than delicate. Real snowflakes have a lot of negative space don’t be afraid of empty areas.
Inconsistent branch angles. If the small branches on one arm point at 45 degrees and another arm’s branches point at 30 degrees, the asymmetry becomes obvious immediately. Try to keep branch angles consistent across all six arms.
Starting too small. Drawing at a tiny scale makes it hard to keep details even. Start with a snowflake at least 3-4 inches wide so you have room to work with proportion and spacing.
Creative Variations Once You’ve Mastered the Basics
Once the standard six-armed snowflake feels easy, there’s a lot of room to experiment:
- Geometric snowflakes built entirely from straight lines and sharp angles, great for a modern, minimalist aesthetic.
- Floral snowflakes that incorporate curved, petal-like shapes instead of sharp branches.
- Mandala-style snowflakes with intricate, layered patterns radiating from the center — these work especially well as adult coloring pages.
- 3D-shaded snowflakes, where you add gradient shading to suggest light reflecting off ice.
- Watercolor snowflakes, where you paint a soft blue or silver wash first, then add fine white or black linework on top once dry.
These variations are popular for holiday cards, winter-themed classroom decorations, journal art, and even tattoo design references, so it’s worth experimenting once your fundamentals are solid.
Snowflake Drawing for Kids: A Simplified Approach
If you’re teaching children, skip the compass and protractor entirely. A simpler version works just as well:
- Draw a plus sign (+).
- Draw an X over it, creating six lines total.
- Add small triangles or lines branching off each of the six lines.
- Done a recognizable, charming snowflake in under two minutes.
This approach sacrifices geometric precision for speed and accessibility, which is usually the right trade-off for younger artists who care more about having fun than achieving symmetry.
My Take: Why Imperfection Actually Works in Snowflake Art
Here’s an honest opinion based on drawing dozens of these myself: don’t chase mathematical perfection. Real snowflakes aren’t perfectly symmetrical either atmospheric conditions cause tiny variations in every single one. A drawing that’s slightly uneven often looks more organic and charming than one that’s mechanically identical on all six arms. If you’re using a ruler and protractor for practice, that’s great for learning proportion, but once you’re comfortable, try a freehand version and let small imperfections stay. It tends to make the piece feel more like art and less like a technical diagram.
Frequently Asked Questions
Do all snowflakes really have six sides?
Yes, virtually all ice crystals form hexagonal structures due to how water molecules bond when freezing. This is why six-point symmetry is the standard for snowflake drawing, even though real crystals can form dozens of complex shapes within that six-fold rule.
What’s the easiest way to draw a symmetrical snowflake without math tools?
The paper-folding method described above is the most foolproof way to achieve symmetry without measuring angles.
Can I draw a snowflake with fewer or more than six arms?
Artistically, yes plenty of decorative snowflakes use four, eight, or even twelve arms for stylistic effect. Scientifically, though, six-fold symmetry is what makes a design read as a “real” snowflake to most viewers.
What software is best for digital snowflake drawing?
Procreate and Adobe Illustrator are both excellent, since they let you draw one arm and use rotate/duplicate tools to create the other five automatically, guaranteeing perfect symmetry.
Final Thoughts
Snowflake drawing is one of those rare art projects that rewards you almost immediately even a rough five-minute sketch tends to look charming, because the underlying six-fold symmetry does a lot of the visual heavy lifting for you. Start with the basic guide-circle method, don’t stress over tiny imperfections, and experiment with different branch styles once you’re comfortable. Before long, you’ll have a whole collection of unique, snowflake designs no two exactly alike, just like the real thing.
You can also play with variations in size and intricacy; some snowflakes can be delicate and lacy, while others might sport bold, geometric patterns. Once you’ve filled a page or two with your creations, consider using them as inspiration for holiday cards or winter-themed decorations. The beauty of this project lies not only in the artistic expression but also in the meditative quality of the process itself.
As you draw, let your mind wander and embrace the tranquility that comes from focusing on each unique design. Furthermore, sharing your finished pieces with friends or on social media can spark joy and encourage others to try their hand at this delightful form of art.
Visit to read Informative Article: Tech Ledger
About the Author